Wondering how to send a StudioMail? Keep reading for a step by step guide!
StudioMail is designed with simplicity and efficiency in mind. You can record a new video directly within the platform or upload a pre-recorded one, making it a versatile tool for various communication needs. The feature also offers customization options like screen sharing, toggling between different cameras, switching to audio-only settings, or changing your microphone. You can even add a virtual background to give your video a more professional look.
What sets StudioMail apart is its ability to reach anyone with an email address. This means you can extend your communication beyond your organization, making it a great tool for reaching out to clients, prospects, or partners who may not have a Studio account.
Moreover, StudioMail is not just for one-off messages. It can be used for regular updates, sharing presentations, or even delivering online learning content. The possibilities are vast, making it a valuable tool in any business communication toolkit.
Remember, the goal of StudioMail is to make video communication as easy and effective as possible. So, whether you're a seasoned pro or new to video messaging, StudioMail is designed to make the process seamless for you. Follow these steps to send a StudioMail:
1. Navigate to https://studio.marketscale.com/dashboard.
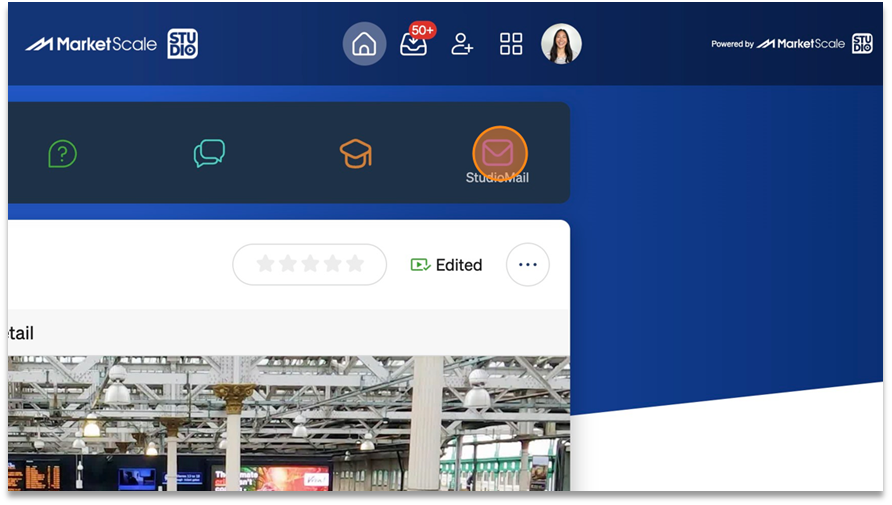
2. Once you've logged into your MarketScale Studio account, you'll land on your personal dashboard. Click on "StudioMail" on the right side of this dashboard to be brought to the StudioMail interface.
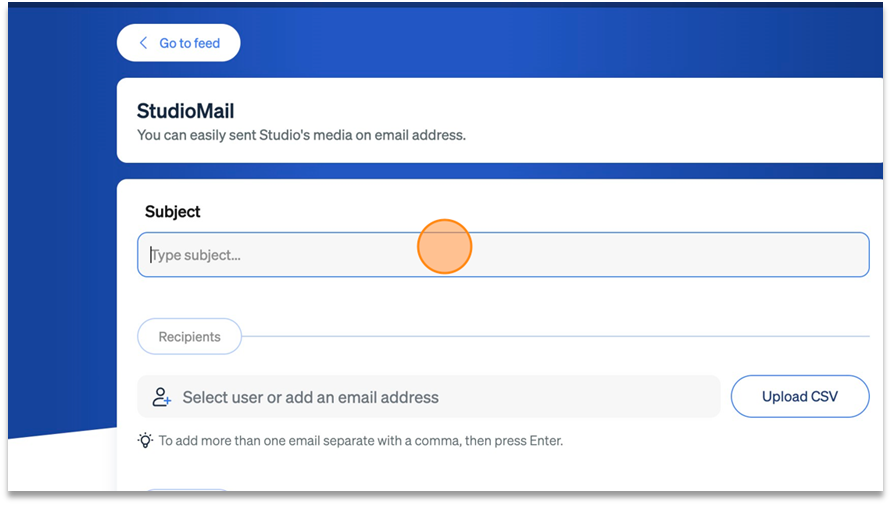
2. The first thing that you will be prompted to do is craft the subject of your email. This is the first thing your recipient will see, so it should be clear, concise, and relevant to the content of your video message. It's also a crucial factor in whether or not your email gets opened, as a compelling subject line can spark the recipient's curiosity and encourage them to view your message. Take a moment to think about your subject line - it's more important than you might think!
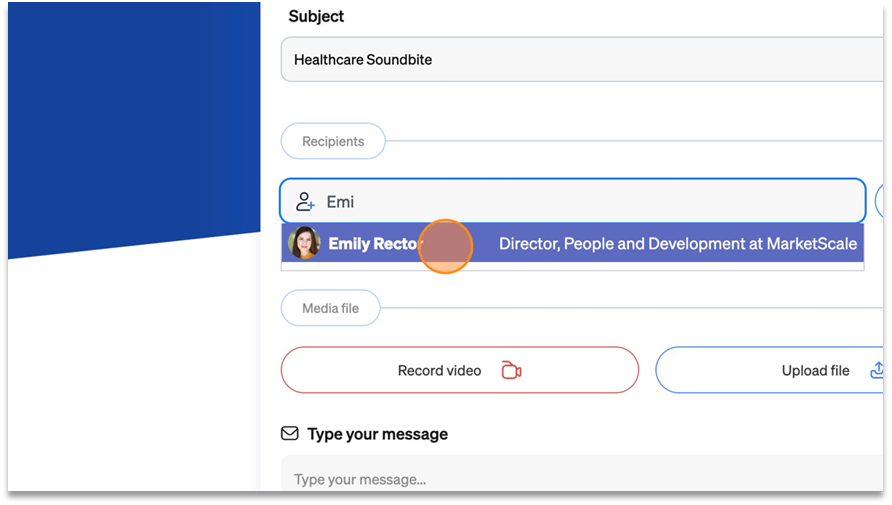
3. When you're ready to send your StudioMail, you'll need to enter the recipient's email address. If the person you're sending the video to is already a registered user on Studio, the system will automatically recognize their email address. When you start typing in their email, their profile will pop up as an option. But remember, the beauty of StudioMail is that your recipient doesn't need to be a registered user. You can send your video message to any email address, making it a versatile tool for communicating with clients, partners, or anyone else outside your organization.
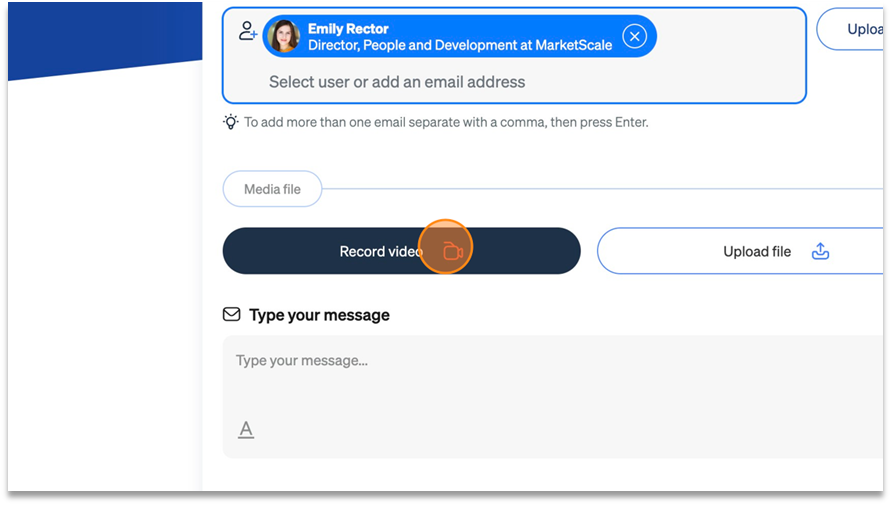
4. Next, you will be asked to either upload an existing video or record a new one directly within the platform. If you have a video file ready to go, click on the "Upload file" button to attach it to your message. This is a great option if you've created a video outside of Studio.
If you need to create a new video on the spot, click on the "Record video" to connect Studio to your webcam. This allows you to record a video without leaving the platform. This is perfect for quick updates, spontaneous messages, or simply adding a personal touch to your communication.
Recording Within StudioMail:
TIP: The screen sharing option is particularly useful when you need to walk your recipient through a presentation, a document, or any other on-screen process. It allows you to share your screen in real-time, making your explanations clearer and more comprehensive.
The ability to toggle between different cameras is a great feature if you have multiple video sources. For instance, you might want to switch between a webcam and a secondary camera to show different angles or perspectives.
Switching to audio-only settings can be handy in situations where video isn't necessary or ideal. Sending an audio message can be a more practical choice in certain contexts.
TIP: The virtual background feature in StudioMail is a fantastic tool to enhance your video messages. It allows you to replace your real background with a virtual one, adding a professional touch to your videos.
When you click on the button to change your background, you'll see a variety of options to choose from. These range from professional office settings to abstract designs and more. The idea is to provide a background that suits your message and your personal style.
One of the great things about this feature is that it's not a one-size-fits-all solution. You can try out different backgrounds until you find one that fits your needs. Maybe you want a minimalist background for a serious business update, or perhaps a vibrant, creative background for a more casual message. The choice is yours!
Remember, the goal of using a virtual background is to enhance your video communication. It can help you create a consistent look across your videos, hide a cluttered room, or simply add a bit of fun to your messages. So, feel free to experiment with it and see what works best for you.

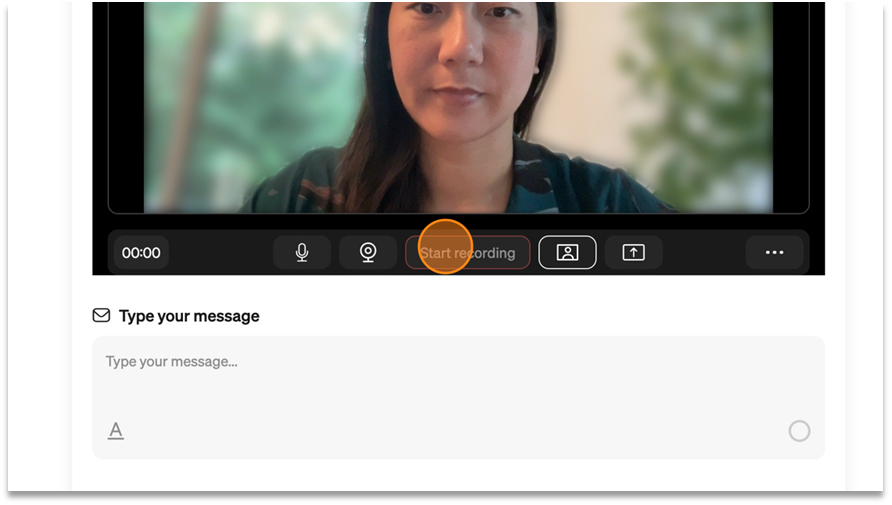
5. Click on "Start recording" to begin your recording. A countdown will begin upon clicking, giving you a few seconds to compose yourself before the recording starts. This is a helpful feature that allows you to get in the right mindset and prepare for your recording.
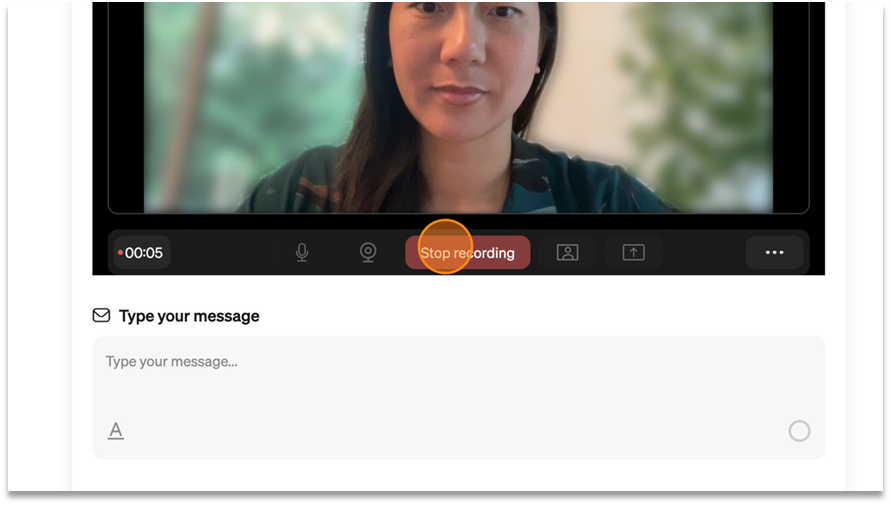
6. When you are finished, click on "Stop recording" to conclude your video. Your video will automatically be saved for you to review.
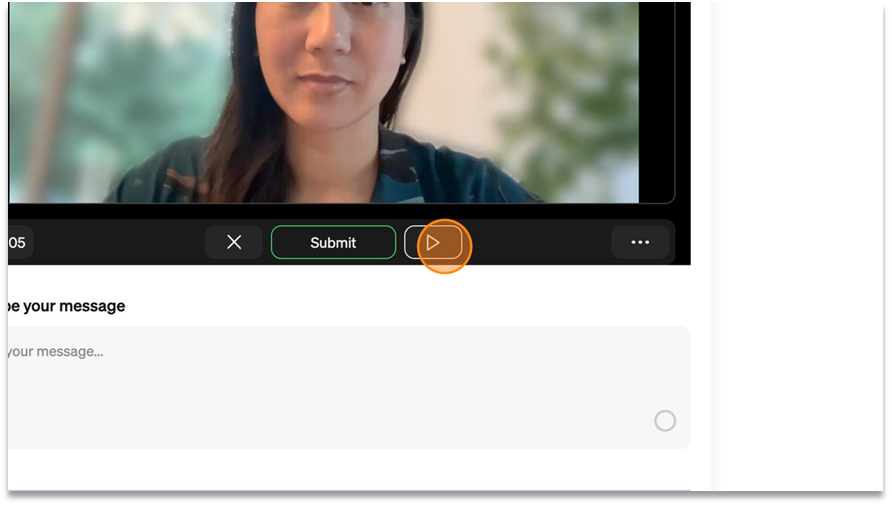
7. To review your video, click on the arrow to the right of the "Submit" button. You may review your video as many times as you like.
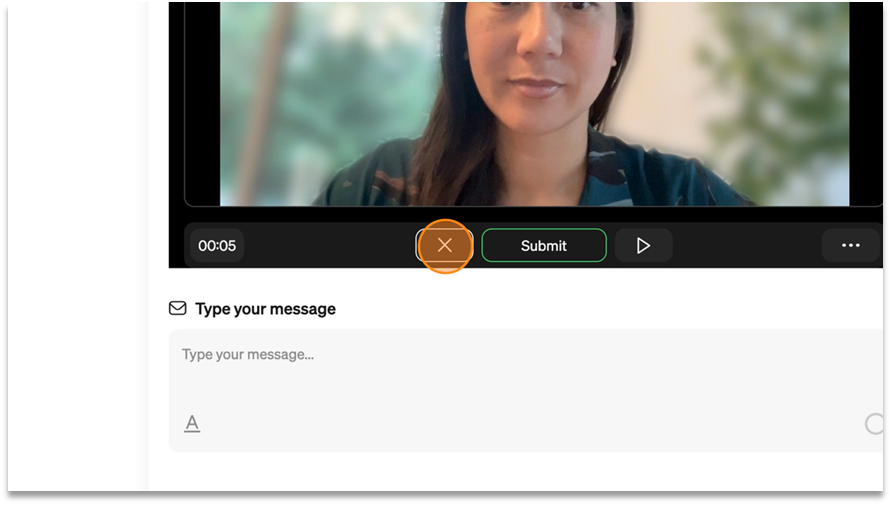
8. Click on the "X" if you are not pleased with your video and wish to redo your recording. This will automatically delete the video and bring you back to the recording screen. From here, you will simply repeat the recording process.
9. Once you are pleased with your video, click on "Submit" to finalize and save the recording. This will automatically attach the video to your email.
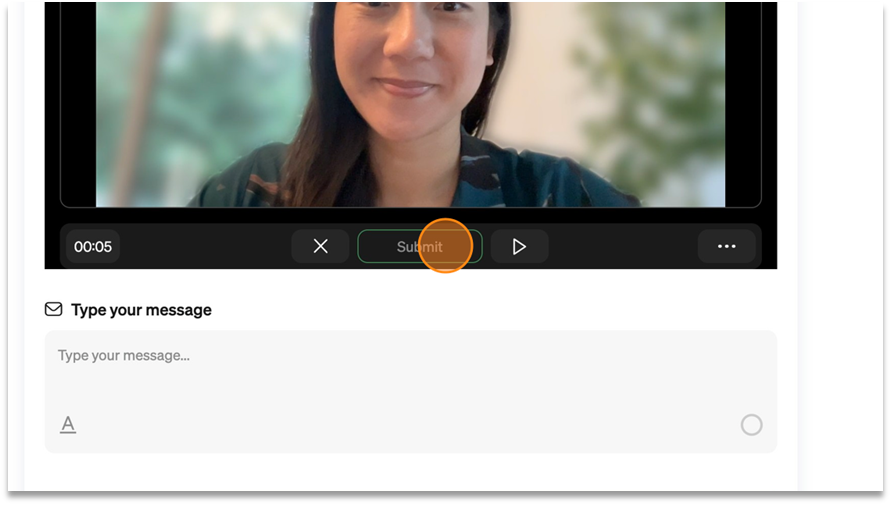
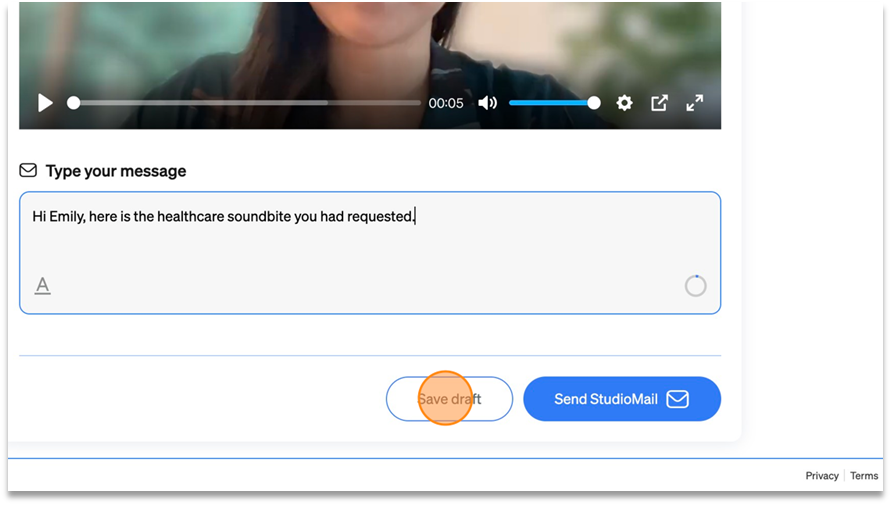
10. After finishing your video, you can type in your message. This is your opportunity to provide context for your video, add any additional information, or simply include a friendly greeting. Remember, your message will accompany your video in the recipient's email, so make sure it complements your video content.
Once you've written your message, you have two options. You can either save the email as a draft or send it right away. Saving it as a draft allows you to come back to it later, which can be useful if you're not quite ready to send it or if you want to review your message with fresh eyes. If you're happy with your email, you can send it right away.
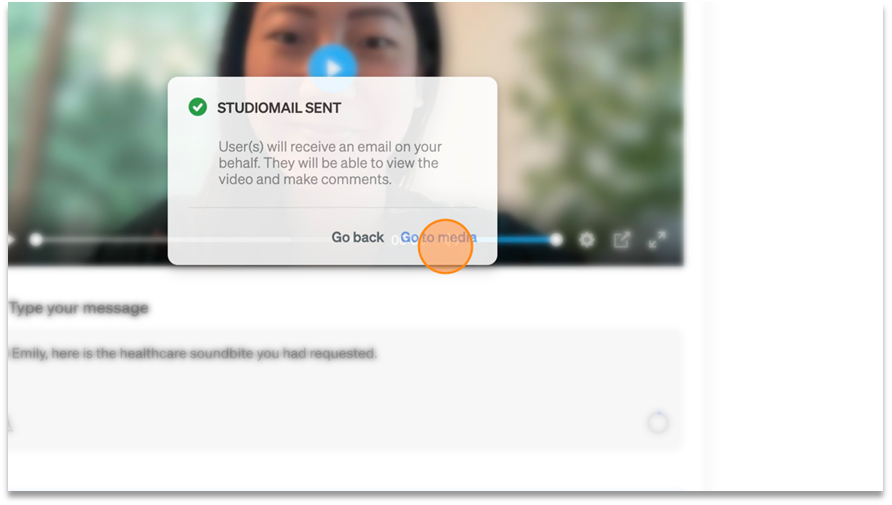
11. After sending your StudioMail, you'll see a confirmation message that says "STUDIOMAIL SENT." This is your assurance that your video email has been successfully sent to your recipient.
After sending your StudioMail, you can then click "Go to media" to return to your media library. This is where all your video content is stored within MarketScale Studio. From here, you can manage your existing videos, or start creating new ones.
Congratulations! You have now successfully sent a StudioMail.